
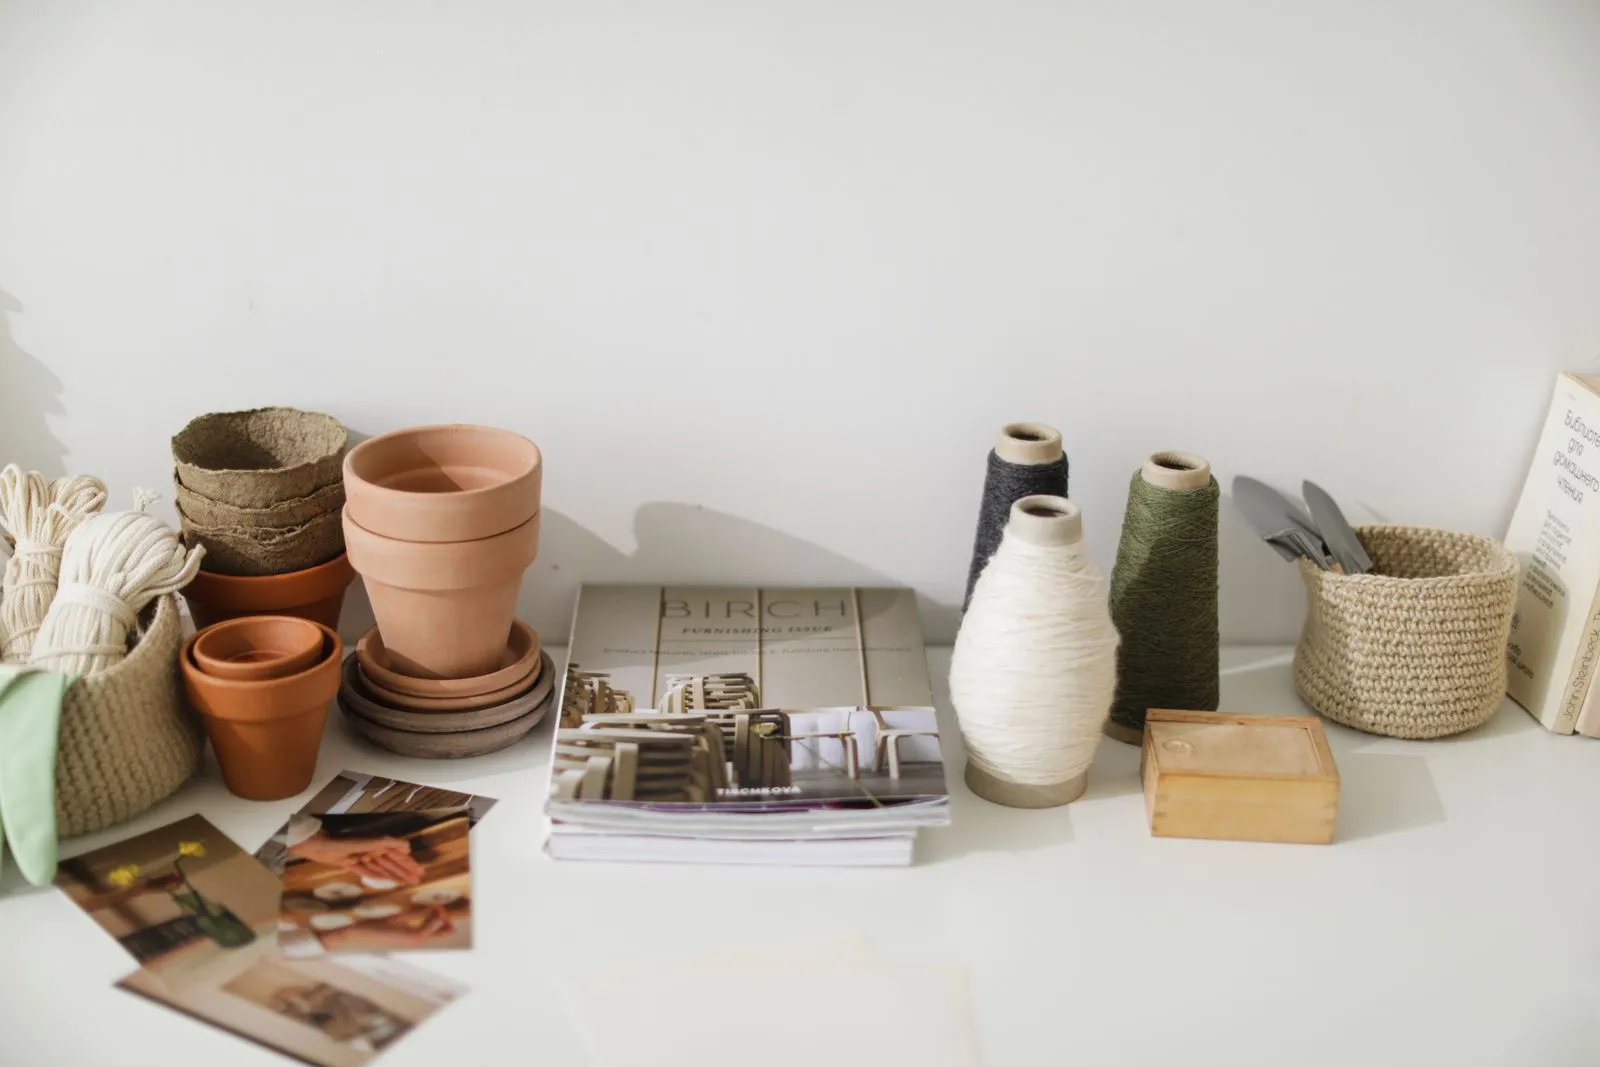
A small craft space can still feel calm and work well. The key is to make use of wall and shelf space, group supplies so they are easy to find, and keep regular-use materials close at hand. You do not need a full room or matching containers to get started. A few thoughtful changes can clear your work surface and make it easier to begin—and put away—your next project.
Use Walls and Vertical Space
Look above your desk, behind a door, or along an unused wall for storage opportunities. Shelves can hold labeled bins, while pegboards, hooks, and wall pockets keep tools visible without taking up desk space. Before installing anything, check that the chosen spot is reachable and that the wall or door can support the storage you plan to use.
Use vertical storage for items that are light, sturdy, and easy to retrieve. Hang scissors or rulers on hooks, place paper in upright organizers, and reserve higher shelves for supplies you use less often. Keep heavy containers low and secure tall units so they cannot tip. Leave enough open wall or desk space to work comfortably.
Group Supplies by Category
Start by gathering similar materials together: paints with paints, sewing tools with sewing tools, and paper supplies in one group. Then sort each category into smaller groups that match how you work, such as paintbrushes by size or beads by color. This makes it easier to see what you own and reduces the chance of buying duplicates.
Choose containers based on the supplies, not on how coordinated they look. Clear bins help you spot contents quickly, while shallow trays keep small items from disappearing at the bottom. Add simple labels to opaque boxes and drawers. If a category outgrows its container, edit supplies or give it a defined second container rather than letting it spread across the room.
Keep Everyday Materials Close
Identify the materials and tools you reach for during most projects. Store them within easy reach of your main work surface—in a desk caddy, top drawer, or small open bin. Put occasional-use items on higher shelves or in less accessible storage. This creates a practical distinction between daily essentials and supplies you only need for specific projects.
Arrange everyday tools so you can return them quickly: pens and scissors upright, frequently used paper in a nearby file holder, and current project materials together in a tray or portable bin. Avoid filling the work surface with every supply you own. Keep enough room for the task in front of you, and return items to their assigned spots when you finish.
Make the System Easy to Maintain
Before buying organizers, measure the shelves, drawers, and gaps you plan to use. Repurpose boxes, jars, or containers you already have, and test the arrangement before adding more storage. A container should be easy to open, fit its contents, and return to its place without moving several other things.
Give each supply category a clear home and keep the system flexible as projects change. At the end of a crafting session, take a few minutes to put tools away and reset the work area. If a container becomes difficult to close or supplies regularly land elsewhere, adjust the setup instead of forcing it to work.
A small craft area becomes more usable when supplies have clear categories, vertical storage, and convenient homes near your workspace. Start with one surface or supply group, then build on what works for your projects. If you would like help planning a practical setup, Neat Craft Rooms can help you consider options for your space.